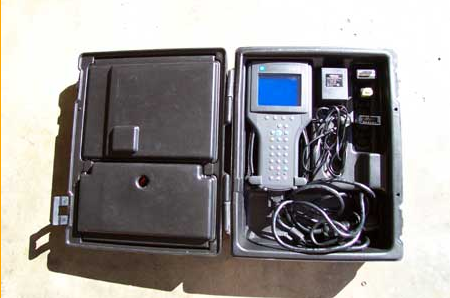
| All of GM Tech2 are same functions, they are just from different factory.
SP23,SP23-1 the same, just the package case is different, one is with plastic case, one not.
SP23-B,SP23-B3 the same factory, the packing is different, one is with plastic case, one not.Step 2: Startup TECH2
Step 3: Enter Diagnostics menu
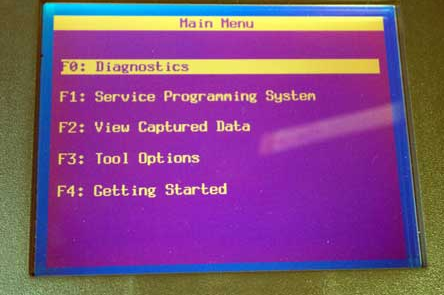
Step4: Enter year of car
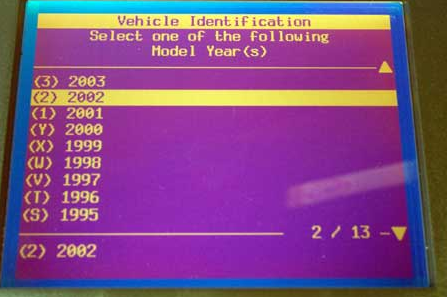
Step5: Enter Passenger Car menu
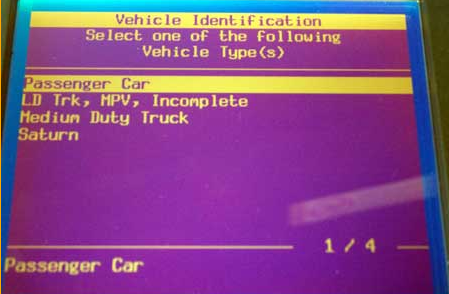
Step 6: Select Body from the menu
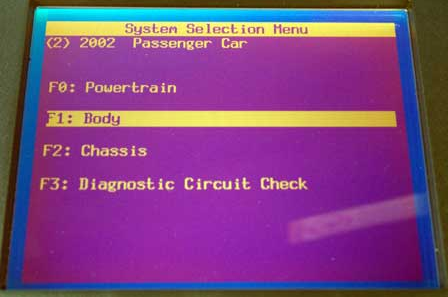
Step 7: Select Y body from menu
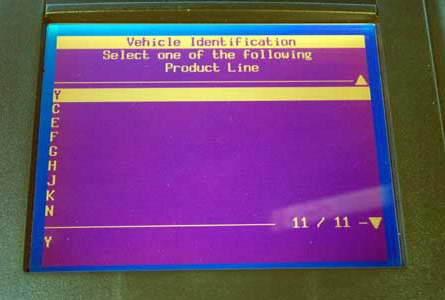
Step 7: Select Y body from menu
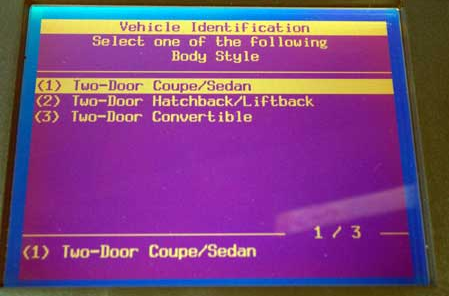
Step 9: Select transmission type
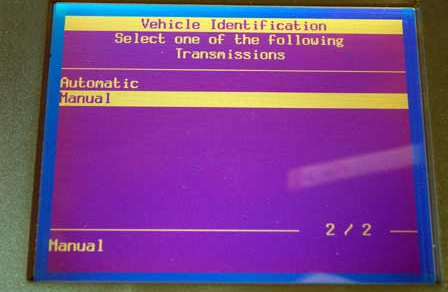
Step 10: Enter body control module menu for adding/deleting option codes such as automatic headlamps,F45 suspension.
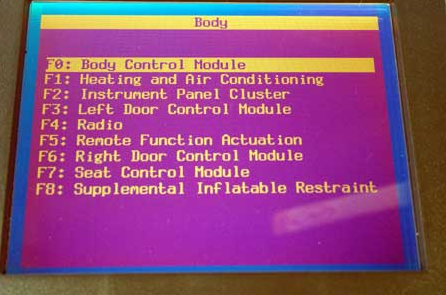
Step 11: Enter Special Functions menu
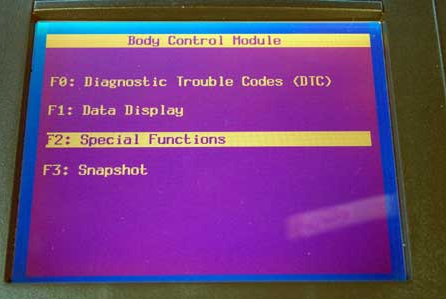
Step 12: Enter BCM RPO Reprogram
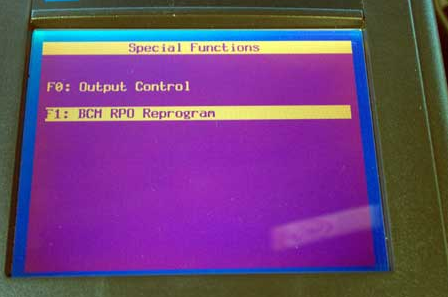
Step 13: Enter cars country of origin
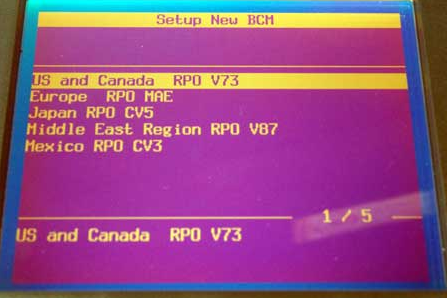
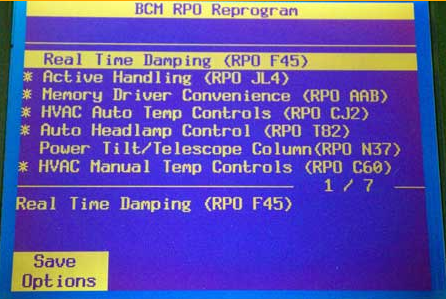
Step 14: Toggle functions on and off. The asterisk next to the option code indicates this function has been turned on. Note that the Automatic and Manual HVAC controls are both turned on. This is normal and should be ignored. Go ahead and hit the save option button when you’re done and power off the TECH2.
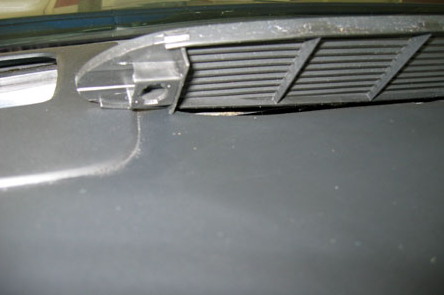
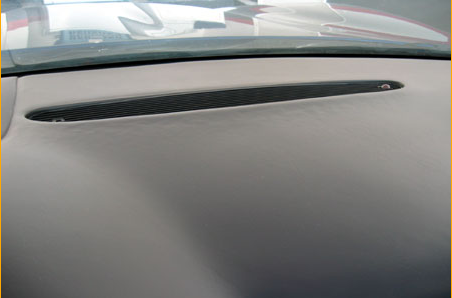
Note: If your vehicle was built after Feb 02 you may or may not have the sensor installed from the factory required to make the T82 automatic headlamp function by simply turning it on in the cars BCM. A quick way to verify this is to remove (no tools required) the defroster vent on the center of your dash. There should be 2 sensors installed. The sensor on the right is for your climate control and the sensor on the left is for the T82 automatic headlamp control. If this sensor is not present it can be purchased from GM for about $12.00. The part number is 12450121 and it simply snaps into a space already provided on the defroster grill.
Next you need to find the pigtail that plugs into the sensor. It is on the right side of the steering column and has a piece of white tape holding it folded in half. Cut or tear the tape and leave it dangling down.
Now, take a metal clothes hanger, and stick it down through the defroster hole in the dash. You will see a little 1 inch by 1/4 inch slit to slide the hanger through, then force it to the floor. Tape the pigtail to the hanger and pull it back up through the hole in the dash. Then plug it in to the sensor, snap the grill back in and you are done.
Have fun! |


Leave a Reply